TRENDING


Find what you're looking for:
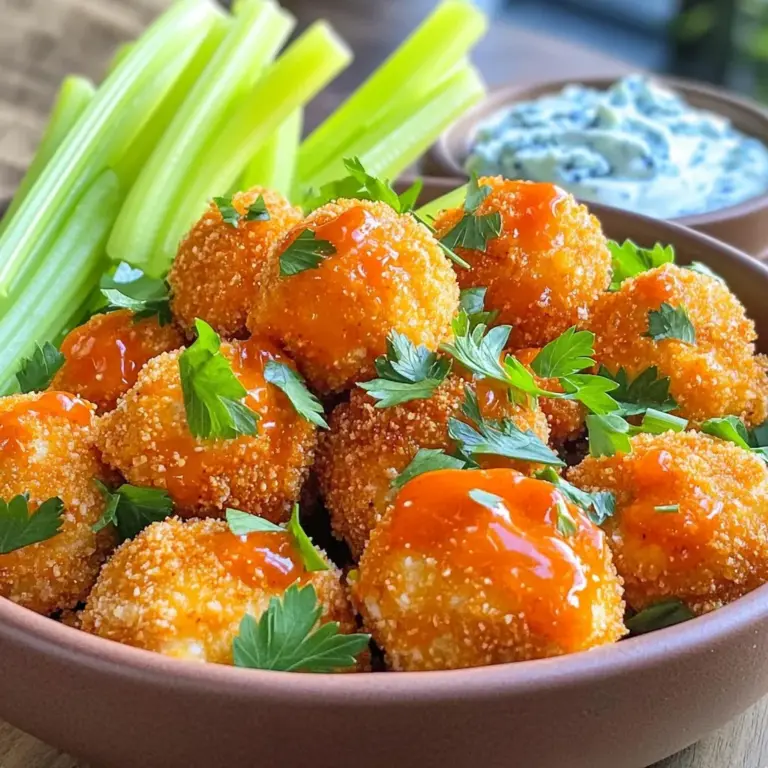
Appetizers That Wow
View All →
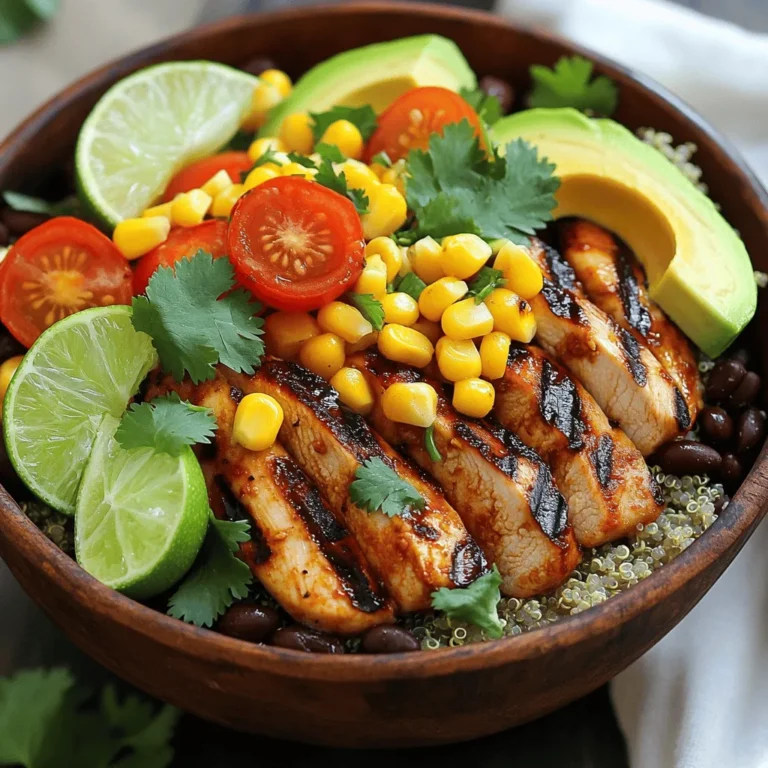
Dinner Done Right
View All →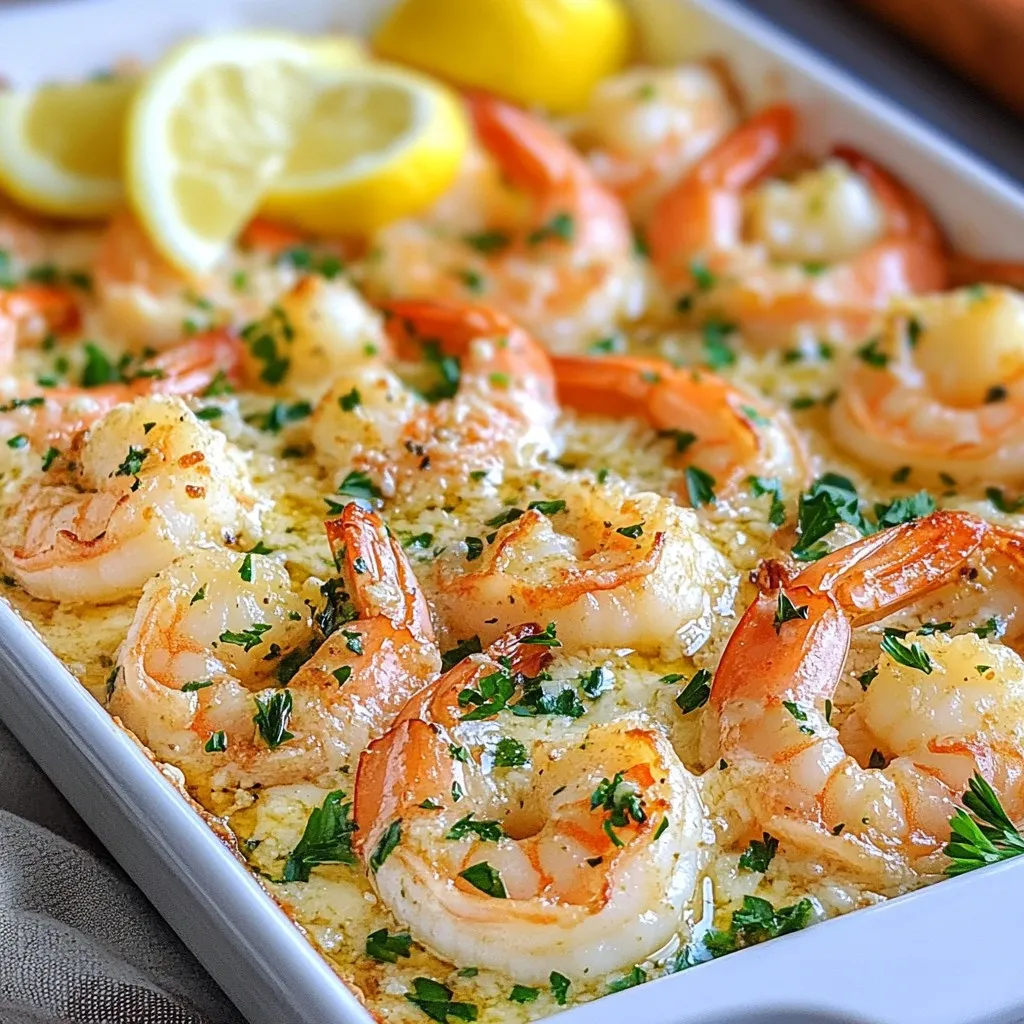


Most Recent Recipes
Sheet Pan Garlic Parmesan Shrimp Easy and Quick Meal
Looking for an easy weeknight dinner that’s packed with flavor? Try my Sheet Pan Garlic Parmesan Shrimp! In just a few simple steps, you’ll have...
READ MORE →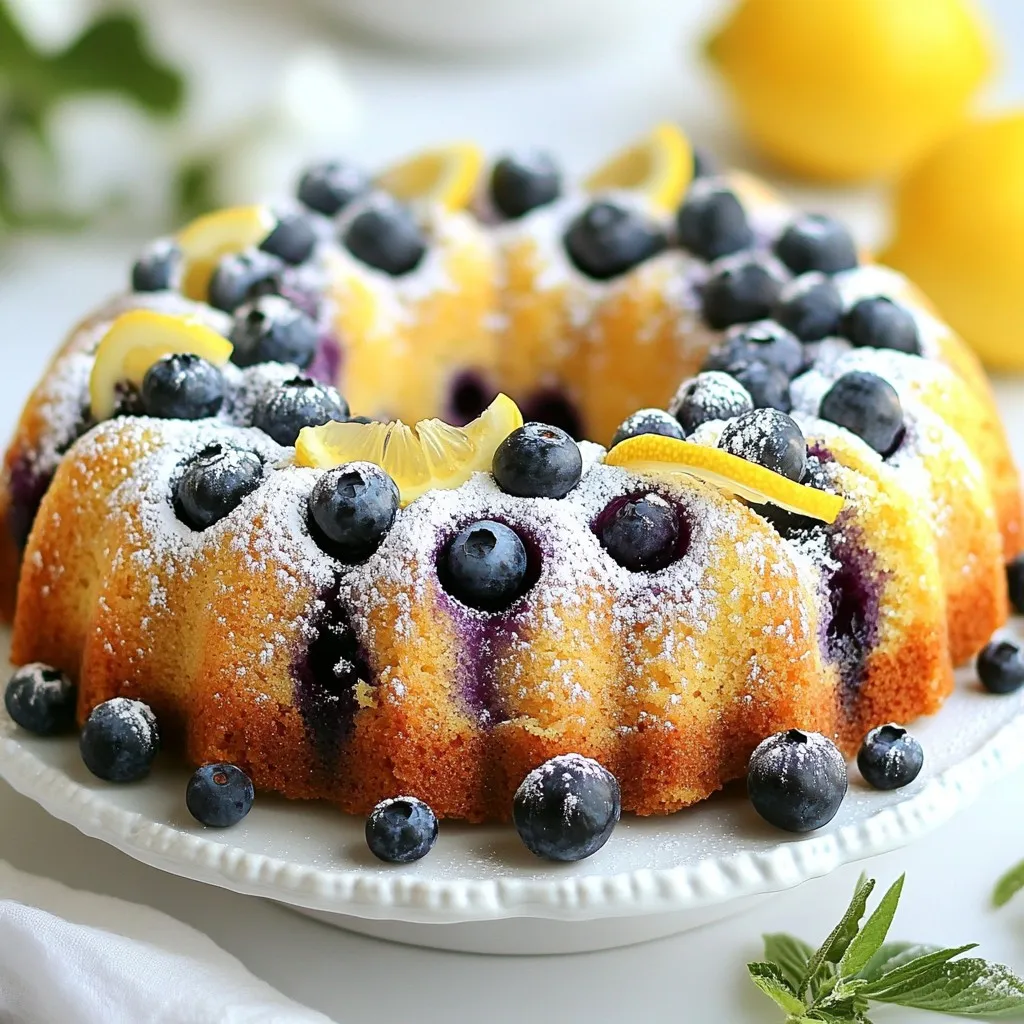
Zesty Lemon Blueberry Pound Cake Delightful Treat
Are you ready for a tasty treat that combines zesty lemon and juicy blueberries? This Zesty Lemon Blueberry Pound Cake is a must-try for anyone...
READ MORE →
Japanese Cotton Cheesecake Cupcakes Delightful Treat
If you love light, fluffy desserts, Japanese Cotton Cheesecake Cupcakes are a must-try! These delightful treats blend creamy cheesecake with the airy texture of a...
READ MORE →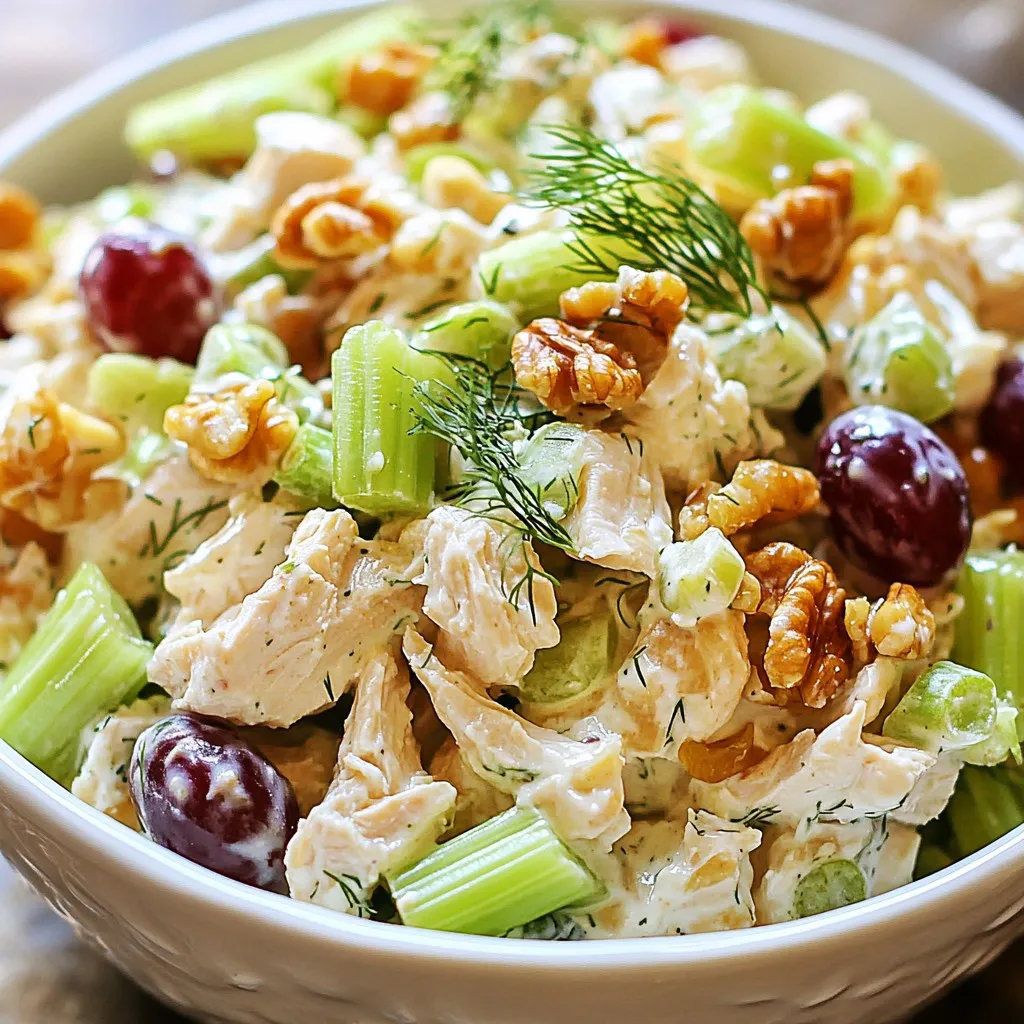
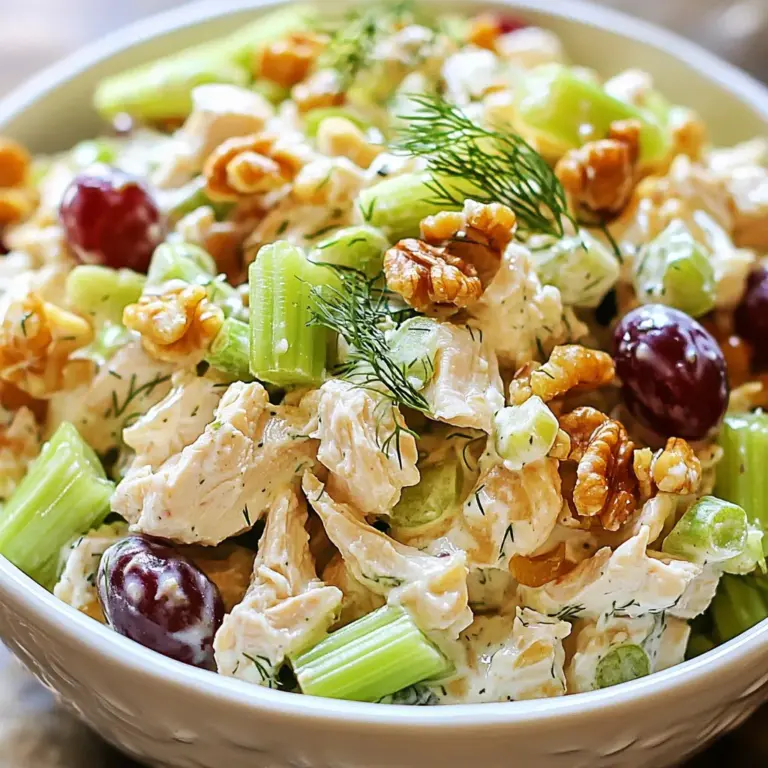
Greek Yogurt Chicken Salad Fresh and Simple Meal
Looking for a healthy, tasty meal? You’ve found it! Greek Yogurt Chicken Salad is fresh, simple, and packed with flavor. With just a few key...
READ MORE →
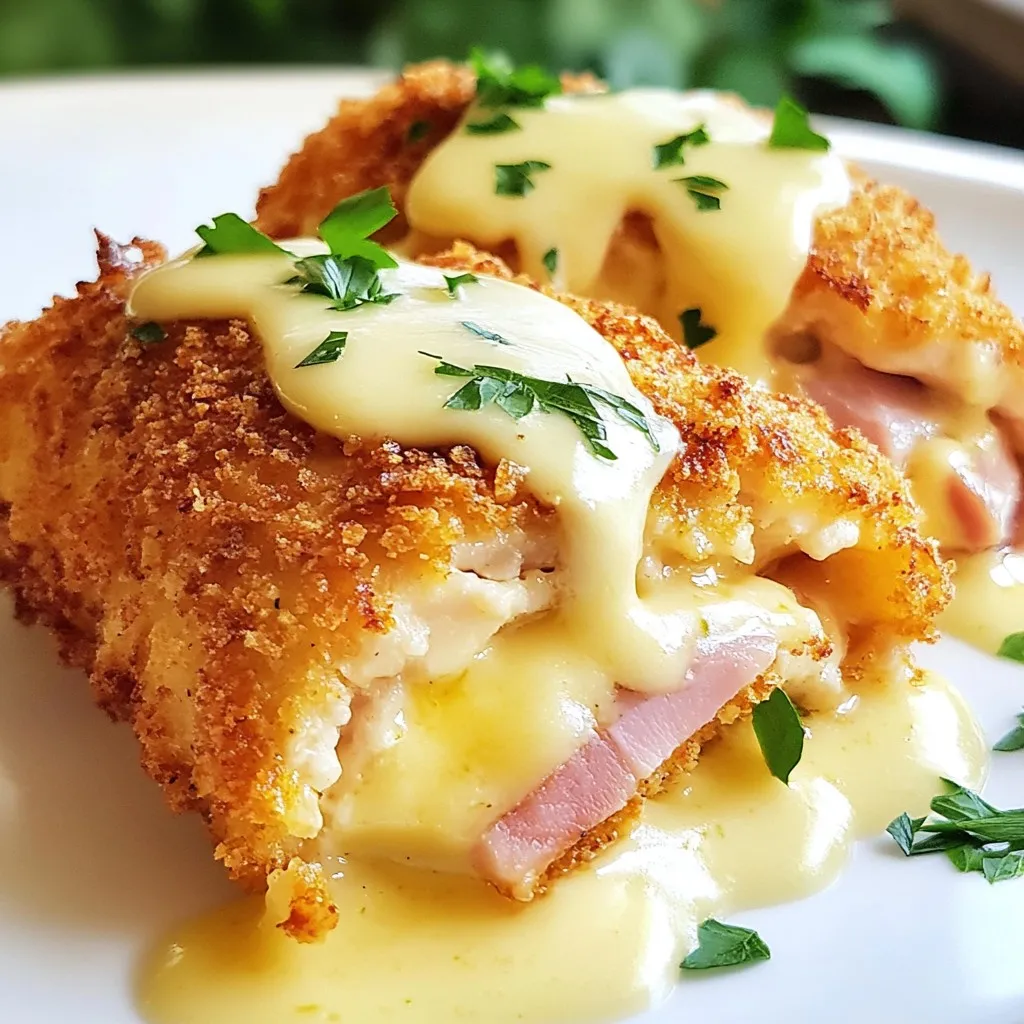
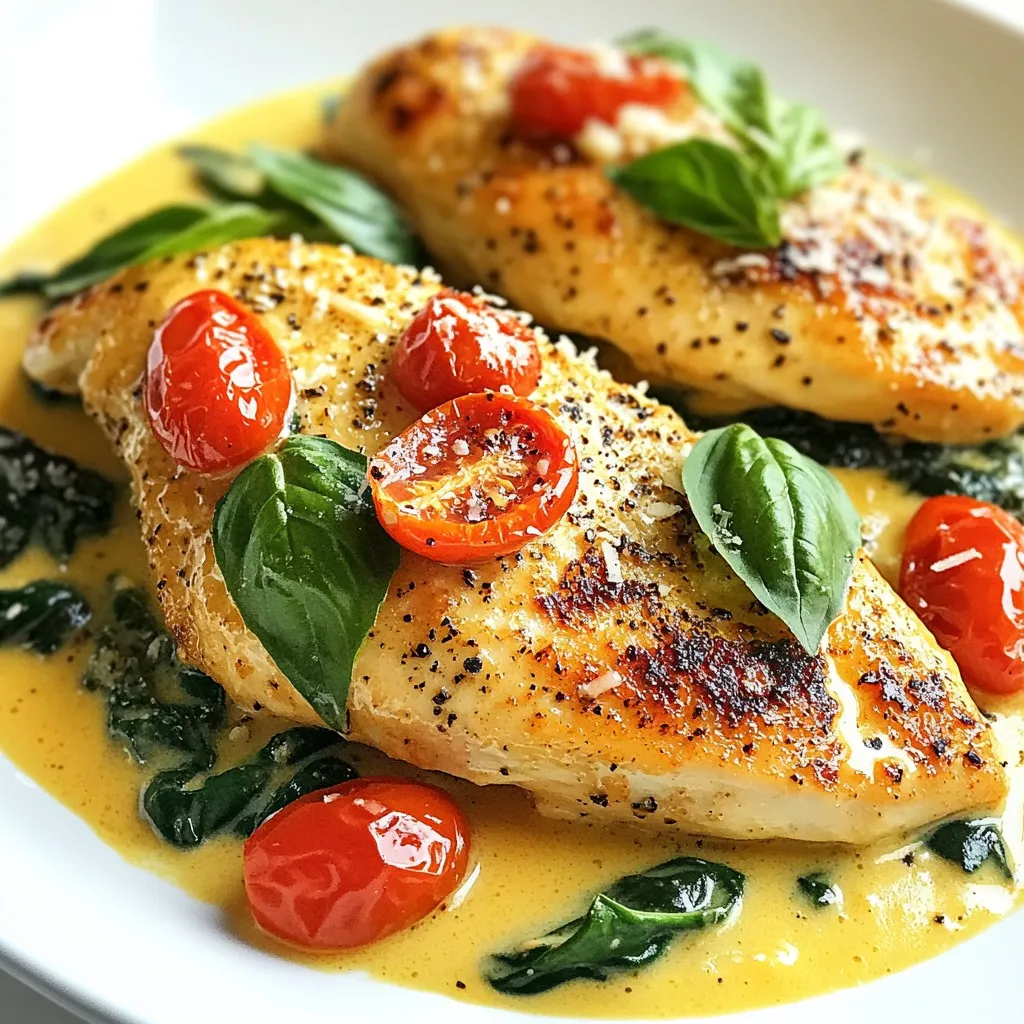
Creamy Tuscan Spinach Chicken Simple and Flavorful Meal
Craving a quick and tasty dinner? Let me introduce you to Creamy Tuscan Spinach Chicken! This dish is packed with flavor and comes together in...
READ MORE →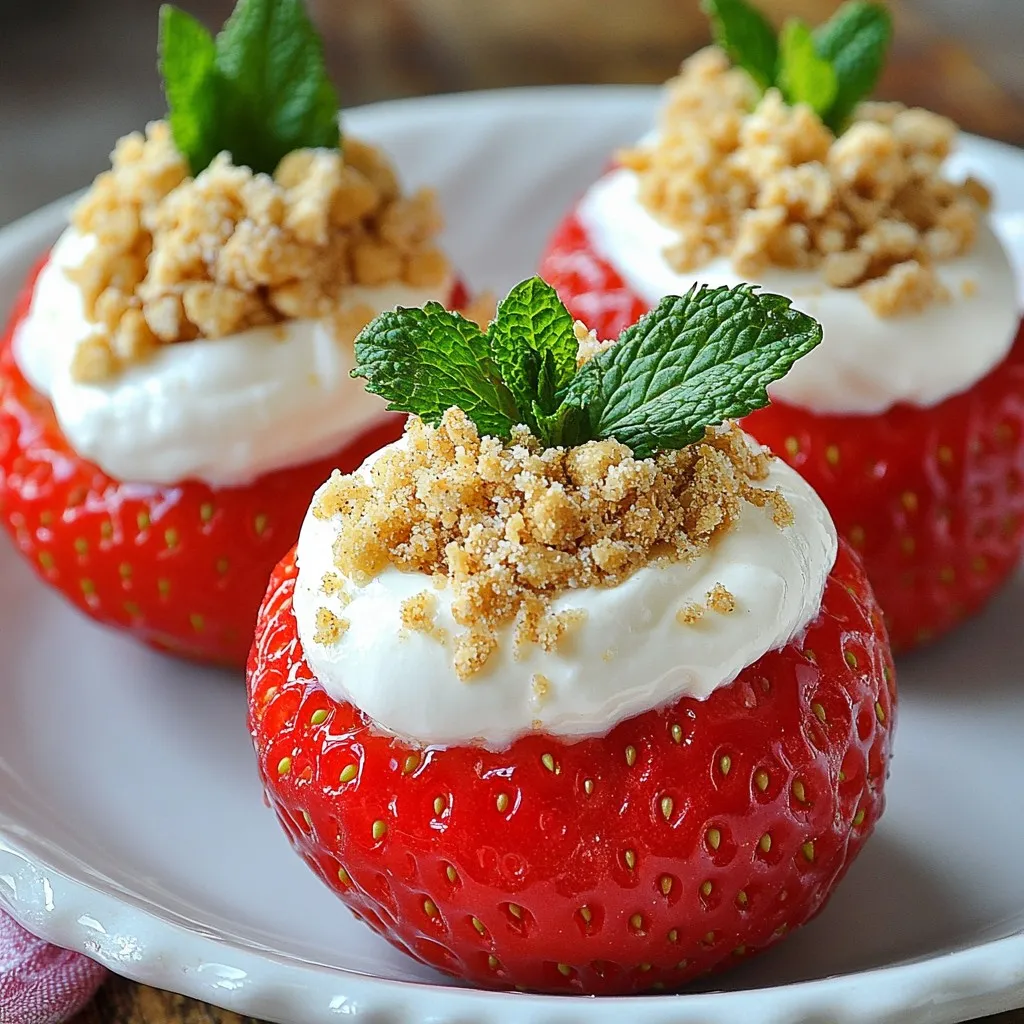
Cheesecake Deviled Strawberries Easy and Tasty Treat
Looking for a fun and yummy dessert? Cheesecake Deviled Strawberries are an easy treat! With just a few simple ingredients, you can create a delightful...
READ MORE →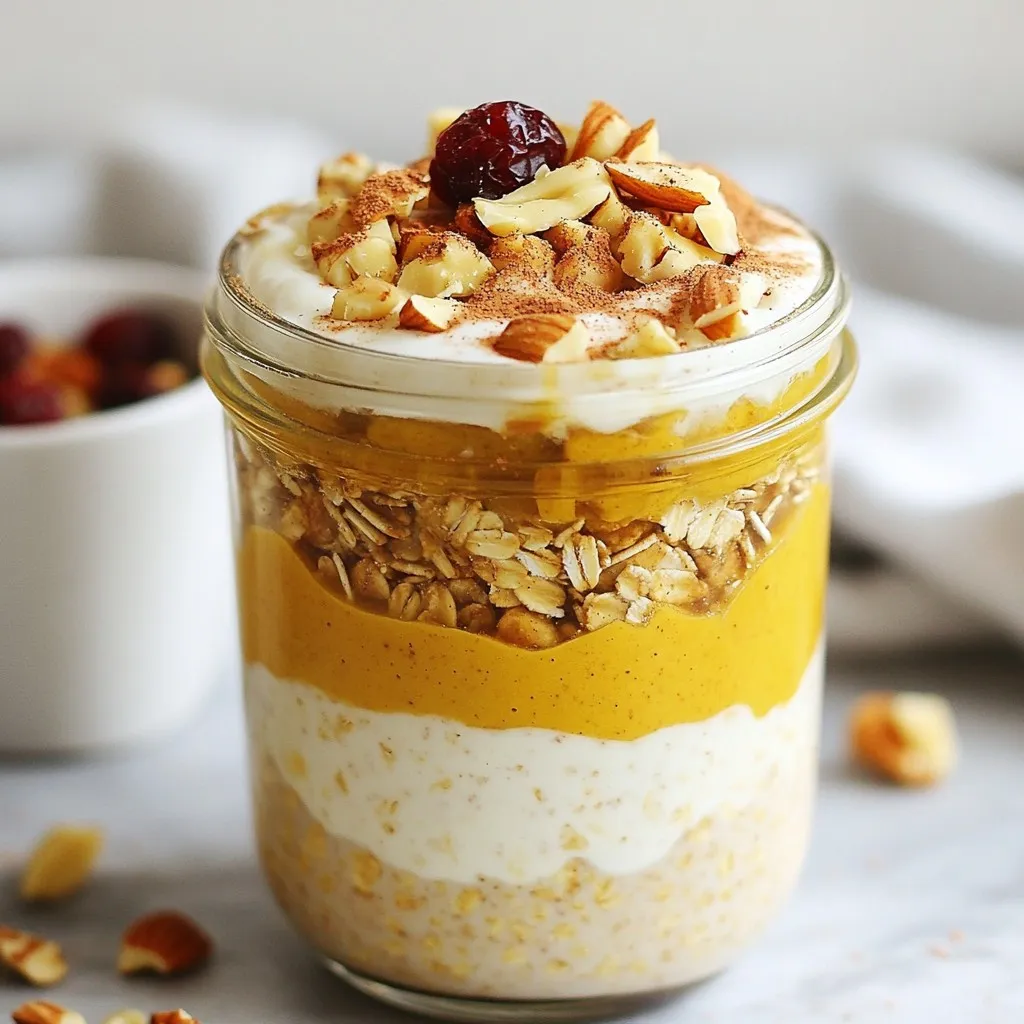
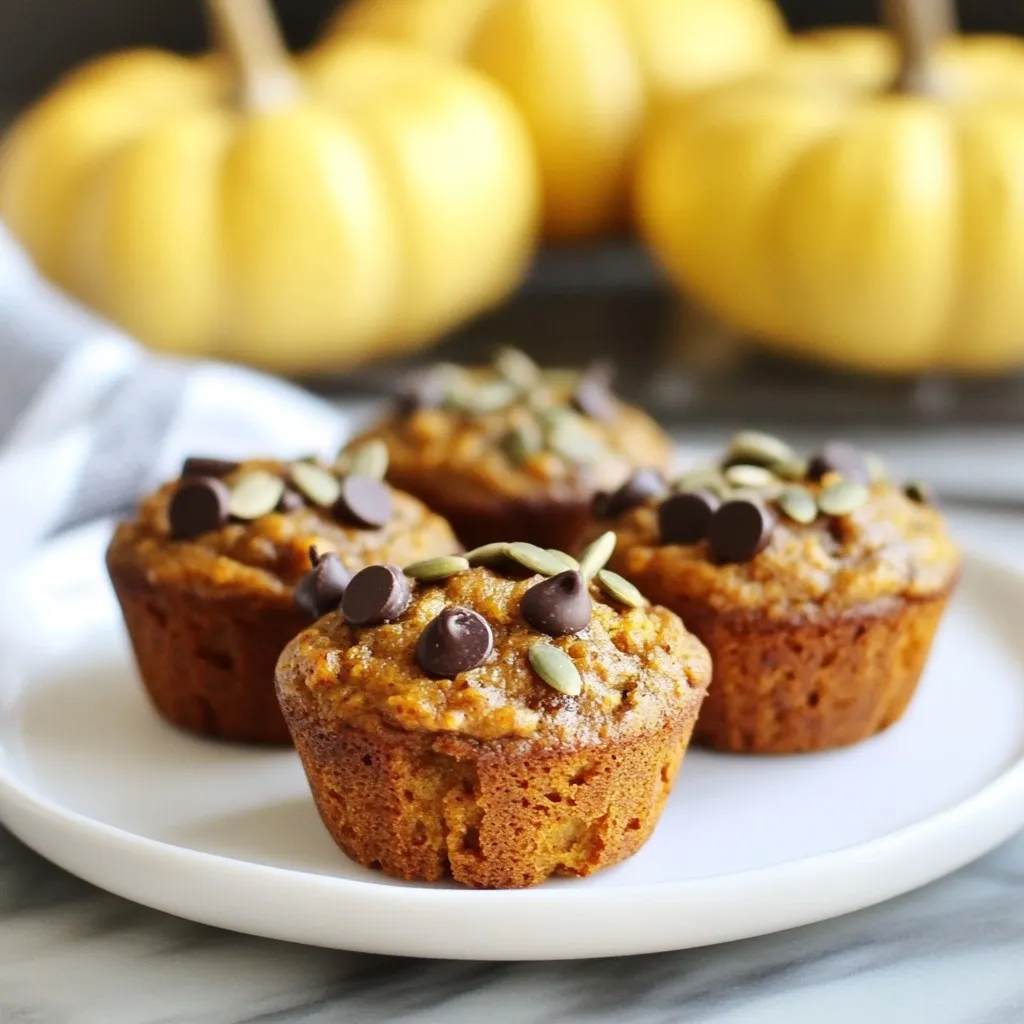
Pumpkin Spice Overnight Oats Tasty Fall Breakfast
Fall is here, and it’s time to spice up your breakfast! I love making Pumpkin Spice Overnight Oats. They are easy to prepare and bursting...
READ MORE →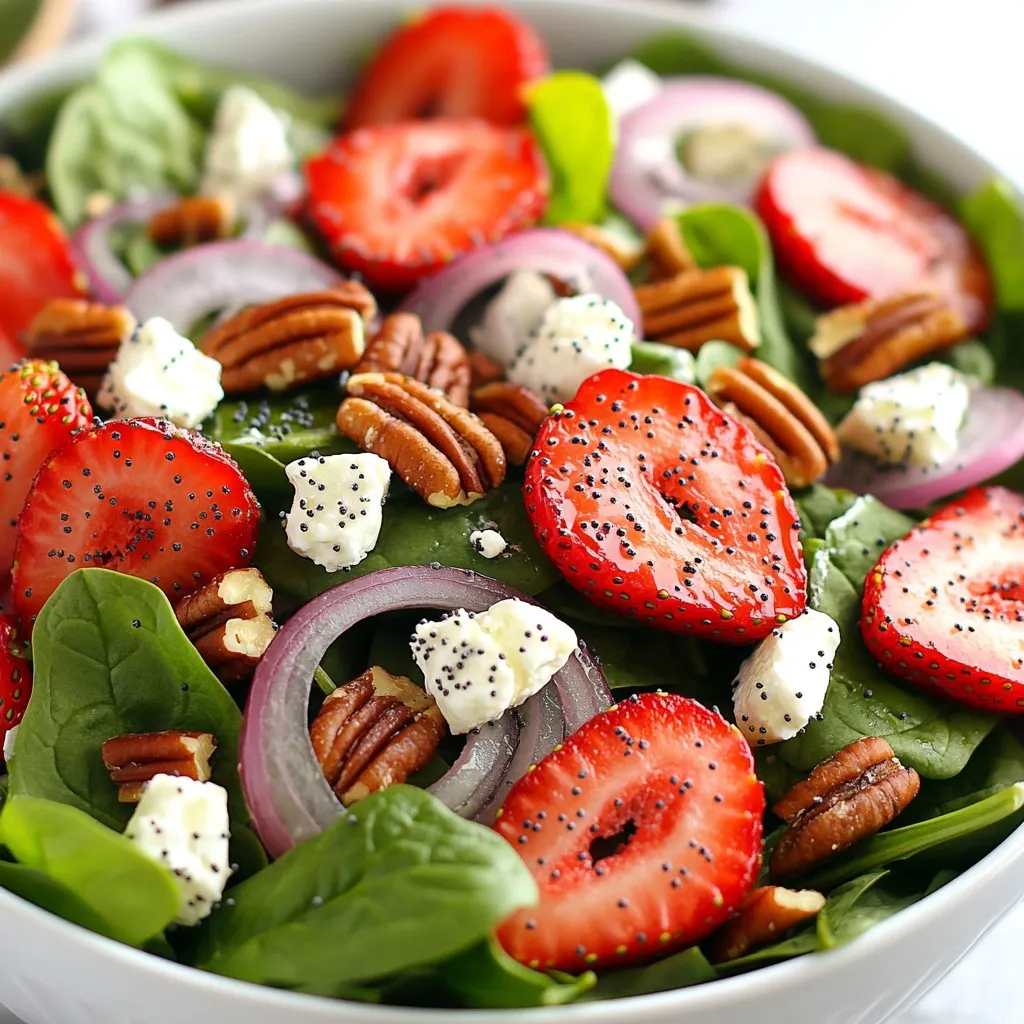
Strawberry Spinach Poppy Seed Salad Fresh and Tasty
Looking to add a burst of flavor to your meal? This Strawberry Spinach Poppy Seed Salad is fresh, tasty, and packed with nutrients. Combining crunchy...
READ MORE →
HI I'M ELLIOT
I'm your laid-back kitchen wingman with a serious love for bold flavors and easy cooking. I'm here to help you ditch the stress and stir up some joy—one tossed-together recipe at a time. Think of me as your flavor coach: part guide, part cheerleader, always down for a second helping.

Mango Coconut Chia Pudding
This Mango Coconut Chia Pudding is a perfect mix of flavors and textures.